Making Tables in Foxit Accessible
Creating accessible tables in Foxit is all about making sure your PDF's are tagged correctly. Ensure that your tables have the correct Header and Data labels to ensure that your PDF meets Extension's accessibility requirements.
How to run a Full Accessibility Check in Foxit
1. Select the "Accessibility" tool. Next, select the "Full Check" option.

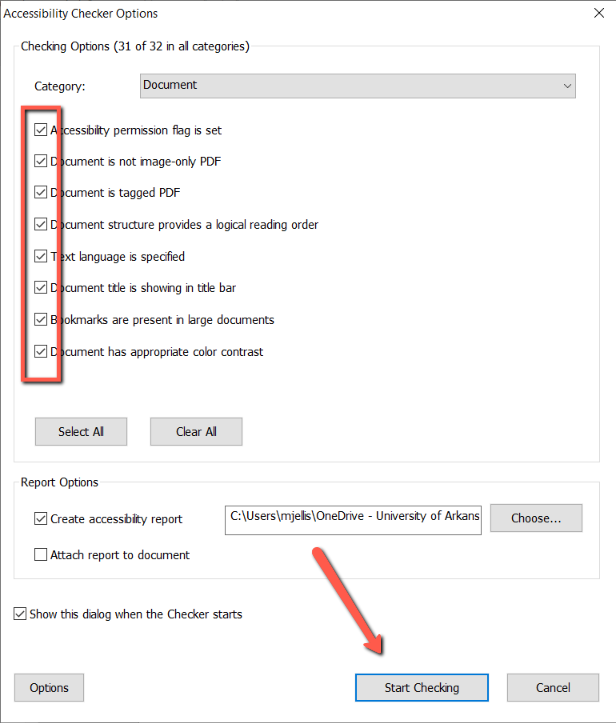
2. The "Accessibility Checker Options" window will open. Make sure that all of your category boxes are checked, and then select the "Start Checking" option.
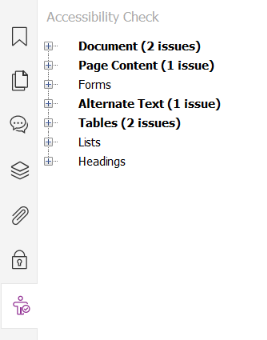
3. Once Foxit finishes running its accessibility check, the final report will appear on the left side of your screen.
How to edit Table Headers (TH) and Table Data (TD) tags in Foxit
1. Once you have found a table that needs remediation in your PDF document, select the "Accessibility" tab and select the "Reading Order" tool.

2. The "Touch Up Reading Order" pane will appear. Select the table you are looking to edit then select the "Table Editor" button in your "Touch Up Reading Order" pane.
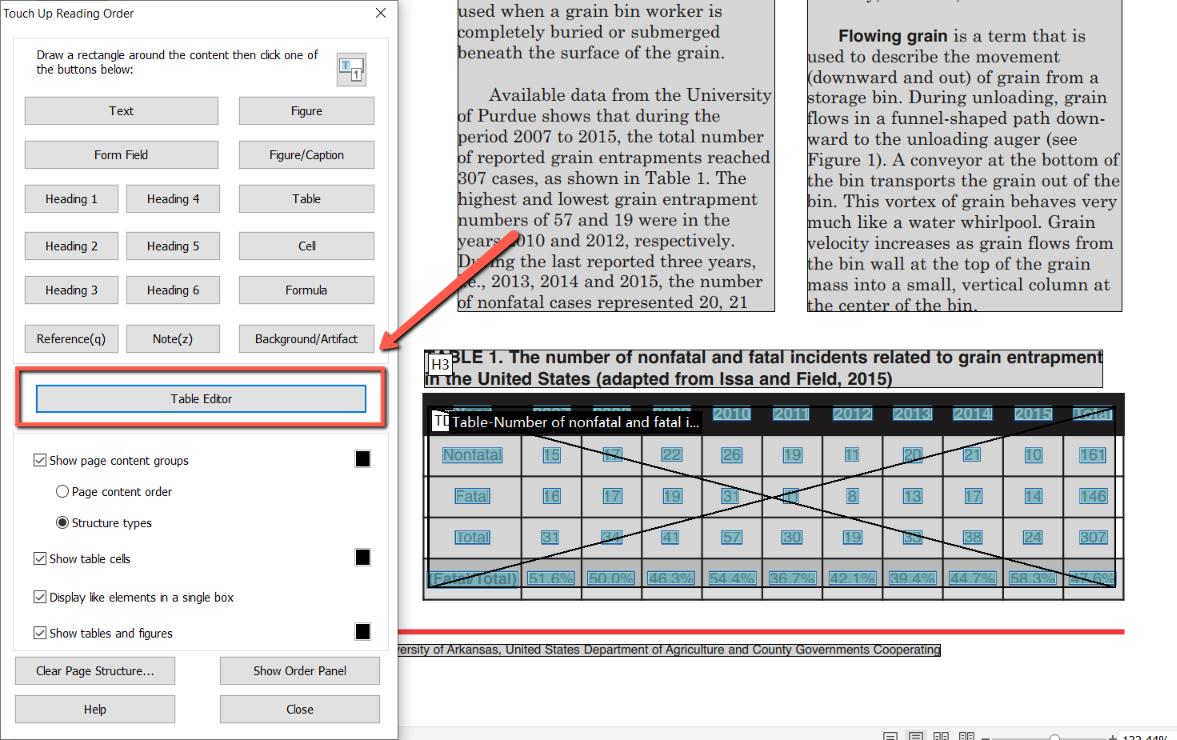
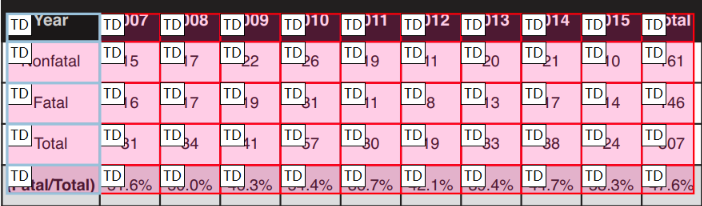
3. Now, you will be able to see how all of your data cells are labeled. Select the cells you want to re-label as header cells. These cells will now be outlined in blue.
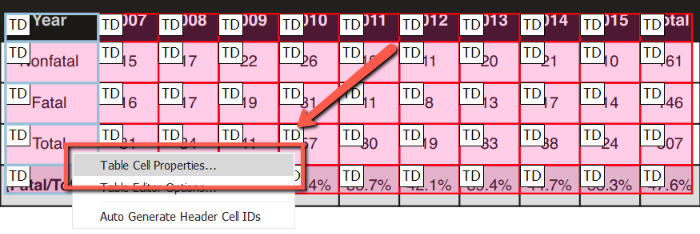
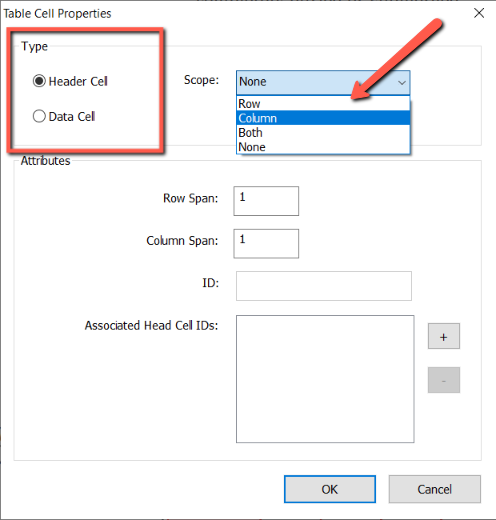
4. Right click the table. Select the "Table Cell Properties..." button.
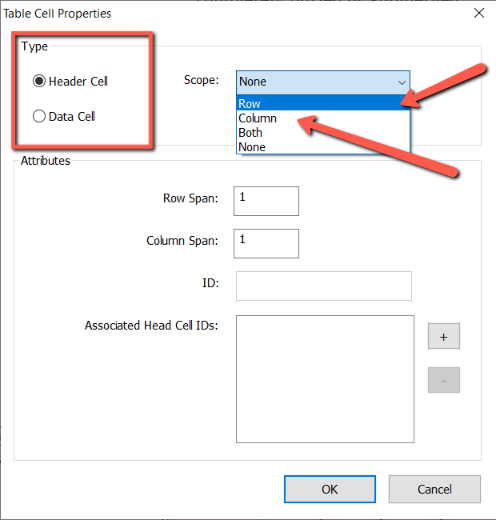
5. The "Table Cell Properties" window will open. Select the "Header Cell" option in the window. In the dropdown menu, select whether the header is either a "Row" or a "Column". Select "OK".
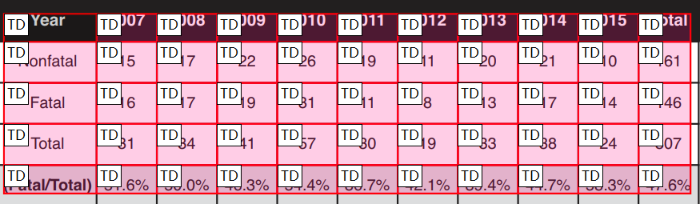
6. The table will now have one header labeled correctly. To finish making the table fully accessible, you will need to repeat steps 3, 4, and 5 for the "column" header.
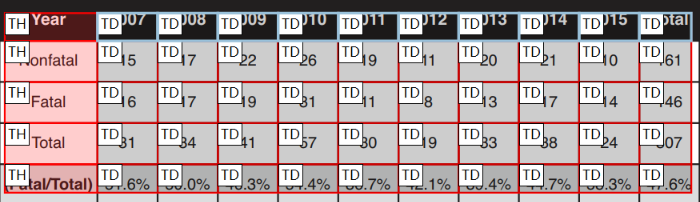
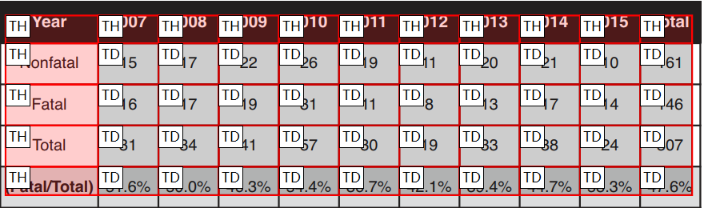
7. This table is now fully accessible. This table has table headers (TH) for both rows and columns and table data (TD) labeled appropriately.
Still need help?
Let us know! We are happy to help make your tables and charts more accessible.
Please contact accessibility@uada.edu