Making Accessible Tables in Adobe Acrobat
Making your PDF files accessible in Adobe is very similar to making your files accessible using other PDF remediation software. By making sure that the tables you have in your PDF are tagged correctly, you are making your document easier to navigate through and understand for people accessing your document with a screen reader.
How to run a Full Accessibility Check in Adobe Acrobat
1. Select the Tools tab at the top of your Adobe document.

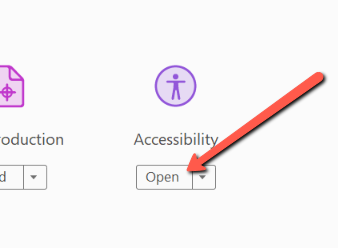
2. Find and select the Open button under the Accessibility tool.
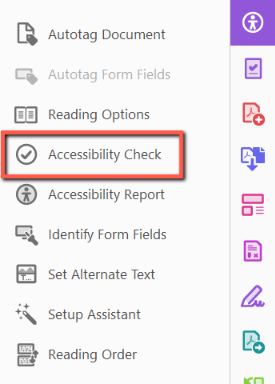
3. With the Accessibility Tool open, select the "Accessibility Check" tool.
4. Once the window opens, select the "Start Checking" button.

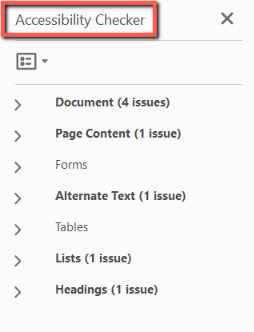
5. Once the accessibility check finishes running, your results will appear on the left side of your document. The drop down menu will give you more information about what accessibility issues are in your document.
How to edit Table Headers (TH) and Table Data (TD) tags in Adobe Acrobat
1. Select the "Reader Order" tab in the Accessibility toolbar.
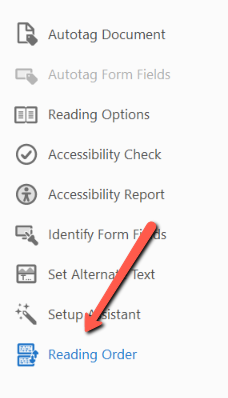
2. Select the table you want to remediate and then select the Table Editor in the Reading Order window.
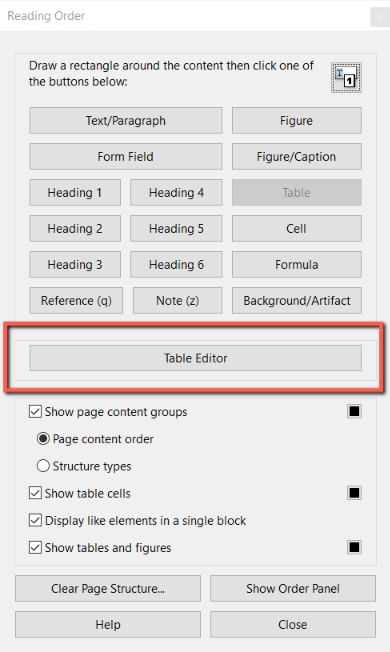
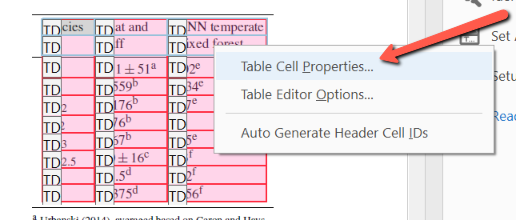
3. Select the cells you want edit in your table. Right-click your selected cells and select Table Cell Properties...
Note: TD is 'Tabular Data'. TH is 'Table Header'.
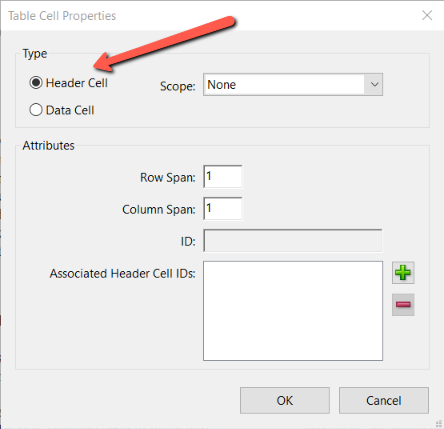
4. Select the cell type you want to label your cells. For this example, we will select the Header Cell button. Select OK.
5. Your data cells have now changed tags from 'Tabular Data' to 'Table Header'. Repeat as needed to correct any cells that are improperly labeled.

Still need help?
Let us know! We are happy to help make your tables and charts more accessible.
Please contact accessibility@uada.edu

